
Build A TeamCity Server & Agent using Docker Compose
Create a TeamCity Server and Agent set-up using Docker Compose.
Introduction
TeamCity is a popular build management and continuous integration server from JetBrains. Downloads are available for multiple operating systems if you want to install yourself, but for a while now JetBrains has offered Docker images.
The following demonstrates a Docker Compose file which when run, downloads and deploys both the server and agent images.
Set-up Directories
Open a command / terminal and create a local directory to store the TeamCity data & log directories referenced in the Docker Compose file. Depending on your OS you'll need to modify these to suit.
mkdir c:\teamcity
mkdir c:\teamcity\server
mkdir c:\teamcity\server\data
mkdir c:\teamcity\server\logs
mkdir c:\teamcity\agent
Create Docker Compose yaml file
Create the following docker-compose.yaml file in your TeamCity directory. You should notice under services\tcs\volumes and services\tca\volumes the key/values which map the data & logs from the container volumes to your local (host) directories created above.
version: "3"
services:
  tcs:
    image: jetbrains/teamcity-server
    container_name: teamcity-server
    ports:
      - "8111:8111"
    volumes:
      - c:\teamcity\server\data:/data/teamcity_server/datadir
      - c:\teamcity\server\logs:/opt/teamcity/logs
  tca:
    image: jetbrains/teamcity-agent
    depends_on:
      - tcs
    container_name: teamcity-agent
    environment:
      SERVER_URL: "http://tcs:8111/"
    volumes:
      - c:\teamcity\agent:/data/teamcity_agent/conf
Run installer with Docker Compose
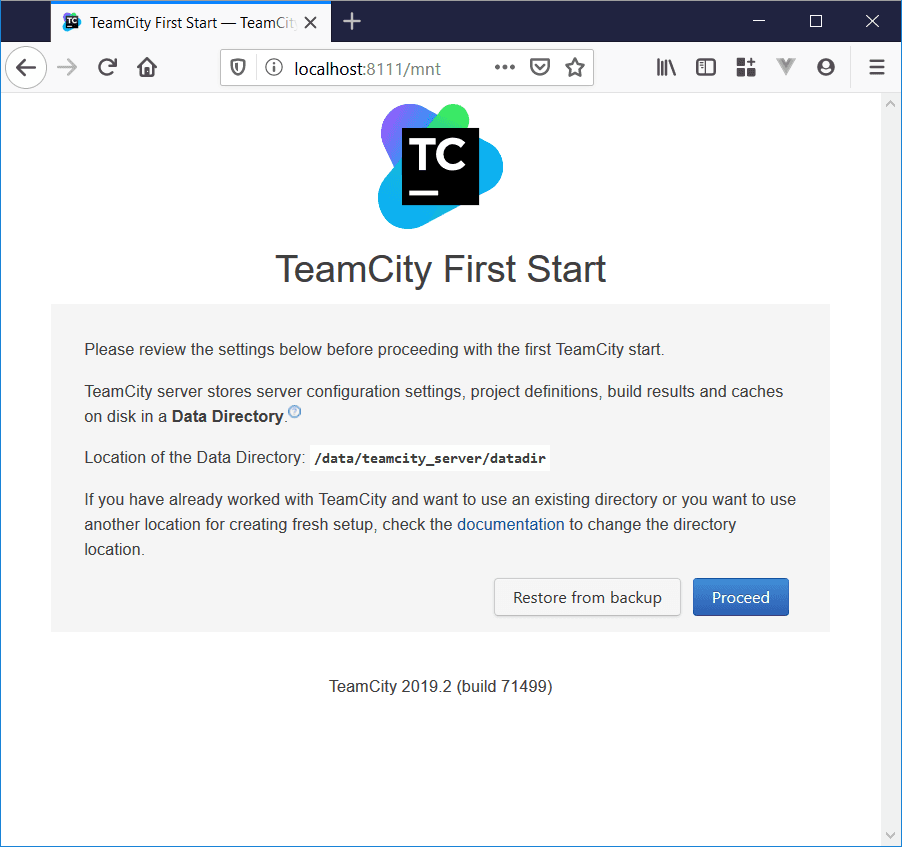
From the command / terminal navigate to your TeamCity directory and run docker-compose up. Wait a few minutes for Docker to download and deploy the images, then navigate to http://localhost:8111/ to proceed with TeamCity server installation.
Installation
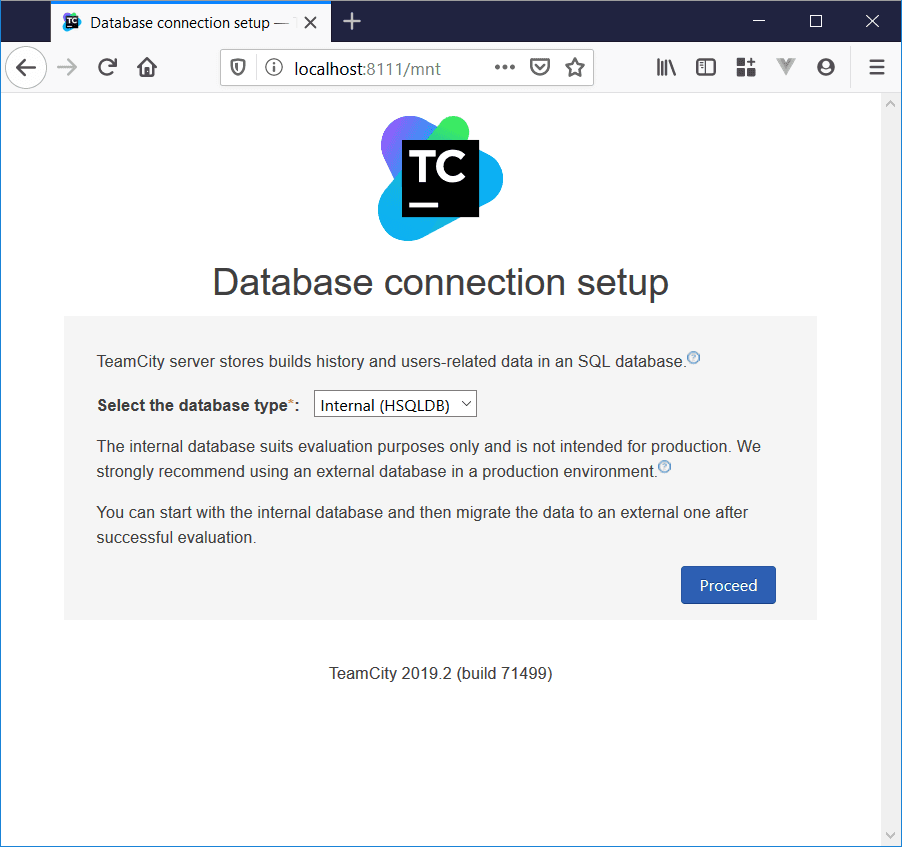
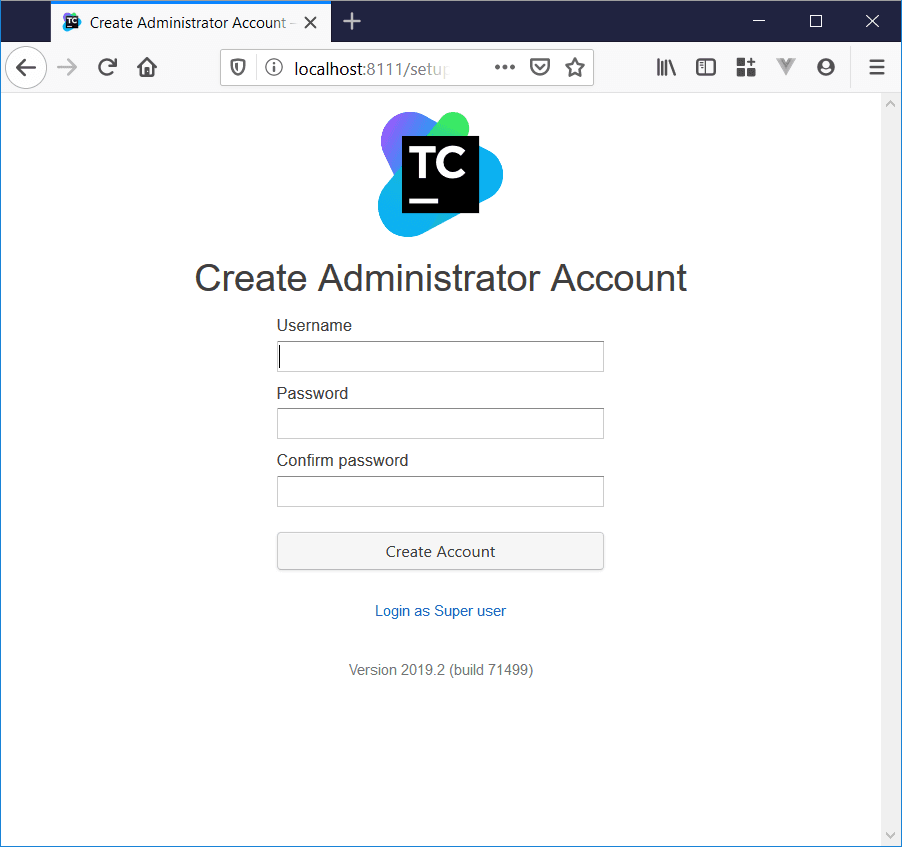
Proceed through the installation steps, setting up a database connection and creating an admin account.
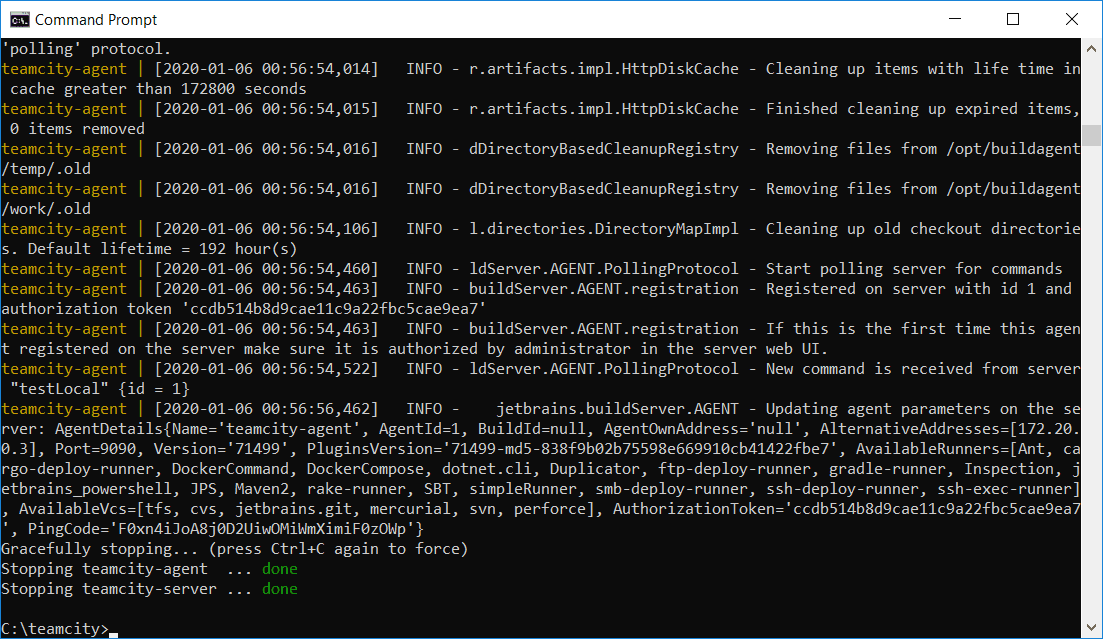
Once done, return to the command / terminal and notice that the agent will now try and connect to the up-and-running server. This may take a few minutes, and the agent may try to reconnect a number of times before succeeding.
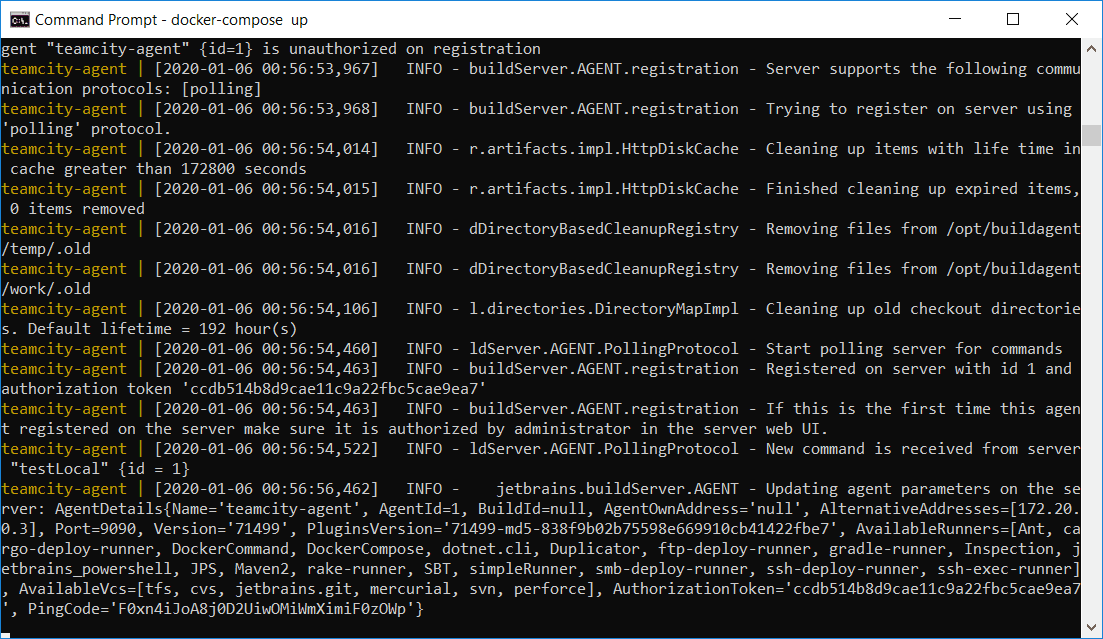
Now that the agent has successfully connected to the server, it should show up in the agents tab.
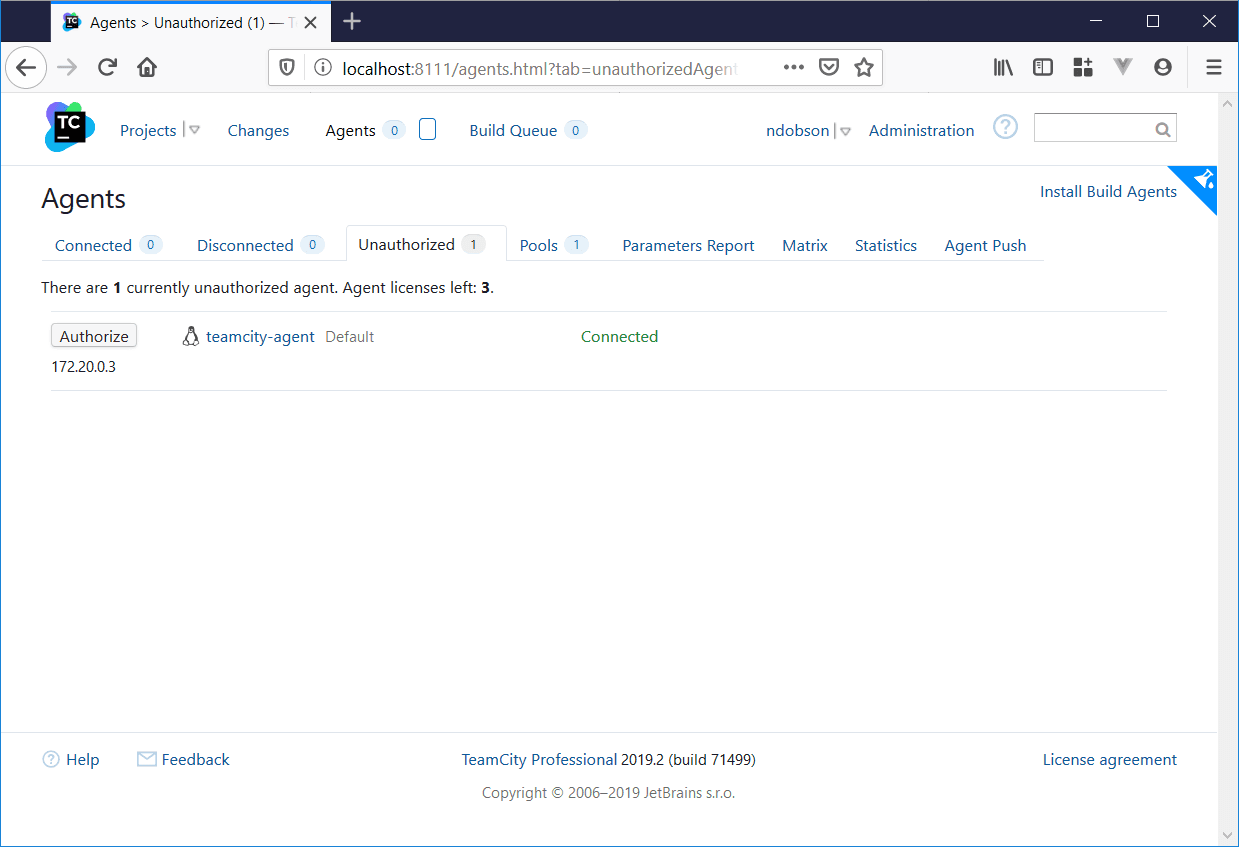
Click the authorize button and the agent should now move to the connected tab.
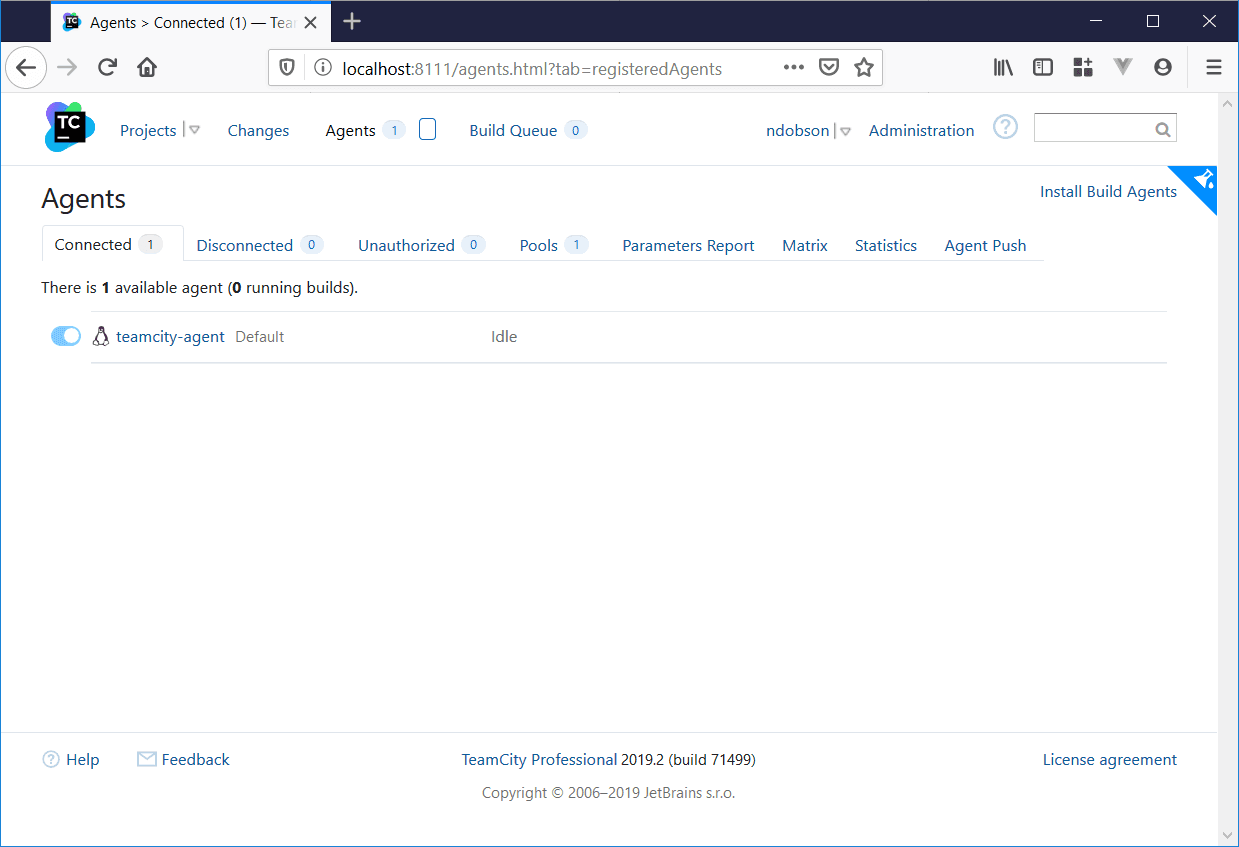
You should now be able to create and run build configurations. See TeamCity documentation for further information.
To stop TeamCity server and agent, return to the command / Terminal and press Ctrl-C.
See docs for further information about features and usage of Docker and Docker Compose.